Google Ads can feel overwhelming. The platform is filled with navigation bars, constant notifications, and an AI chatbot that seems resistant to feedback. However, optimizing your campaigns doesn’t have to be complicated. If you’re new to Google Ads, here are three simple settings you can adjust today to optimize your traffic, reduce irrelevant clicks, and save money.
Note: Google Ads often offers multiple ways to navigate to specific features. The instructions below outline one method for each setting, but feel free to use the approach that works best for you.
Turn off Google Search Network & Display Network, and adjust location settings
By default, Google will enable two extra search networks to all of your search campaigns. These let Google spend part of your budget on third-party websites that tend to bring in irrelevant traffic and waste your money. Below are instructions for turning these networks off.
Google also defaults your location settings to “Presence or Interest In.” This setting means that your search ads can show to people who are interested in your chosen location, even if they’re not physically located there. Unless you have a tourism or travel-based business, this setting is too broad and will waste clicks on people who will not make a purchase or fill out your lead form.
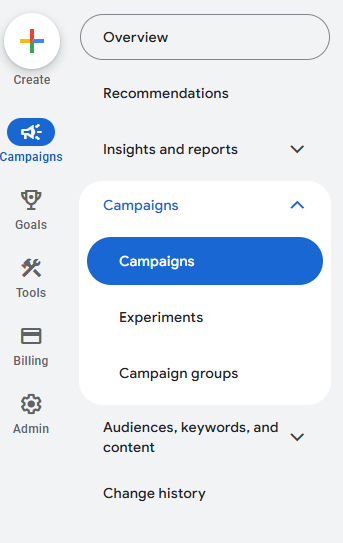
- Hover over the Campaigns button on the left, click the Campaigns dropdown, then click Campaigns.
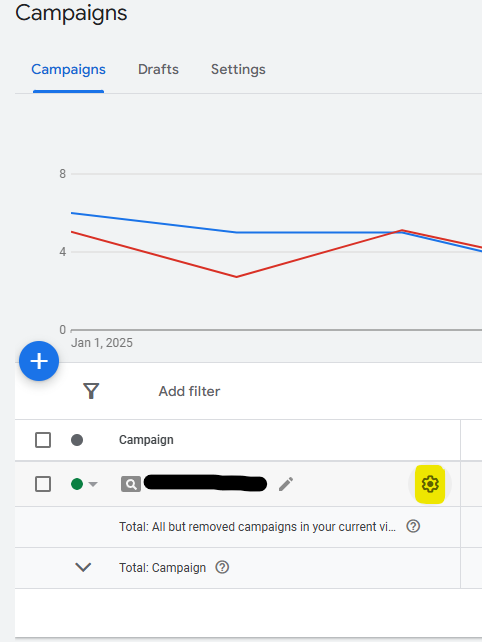
- Hover over one of your active campaigns and press the gear icon. This opens your Campaign Settings.
- Open the Networks dropdown. Uncheck both the Google Search Network and Display Network options.
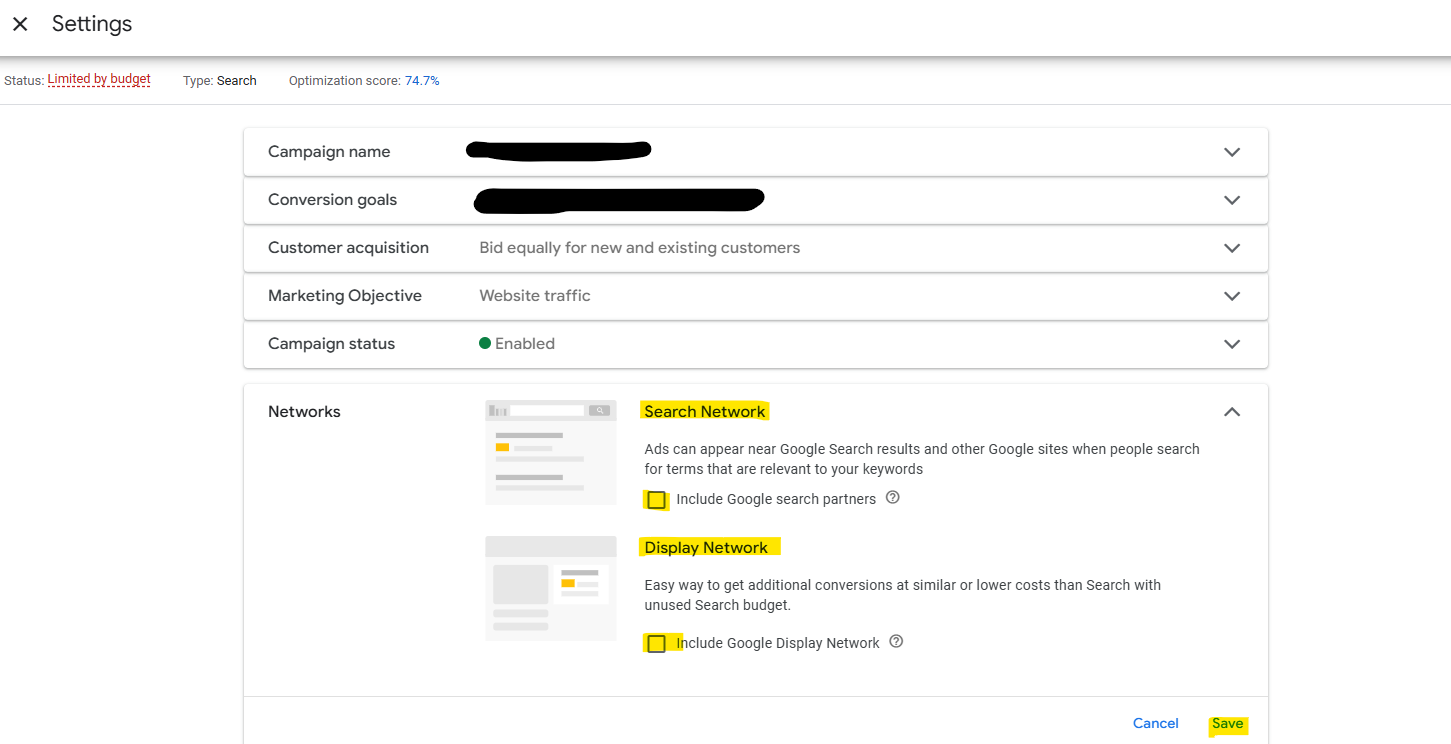
- Press Save.
- Open the Locations dropdown. Click the Location Options dropdown. Change the selection to “Presence: People in or regularly in your included locations.”
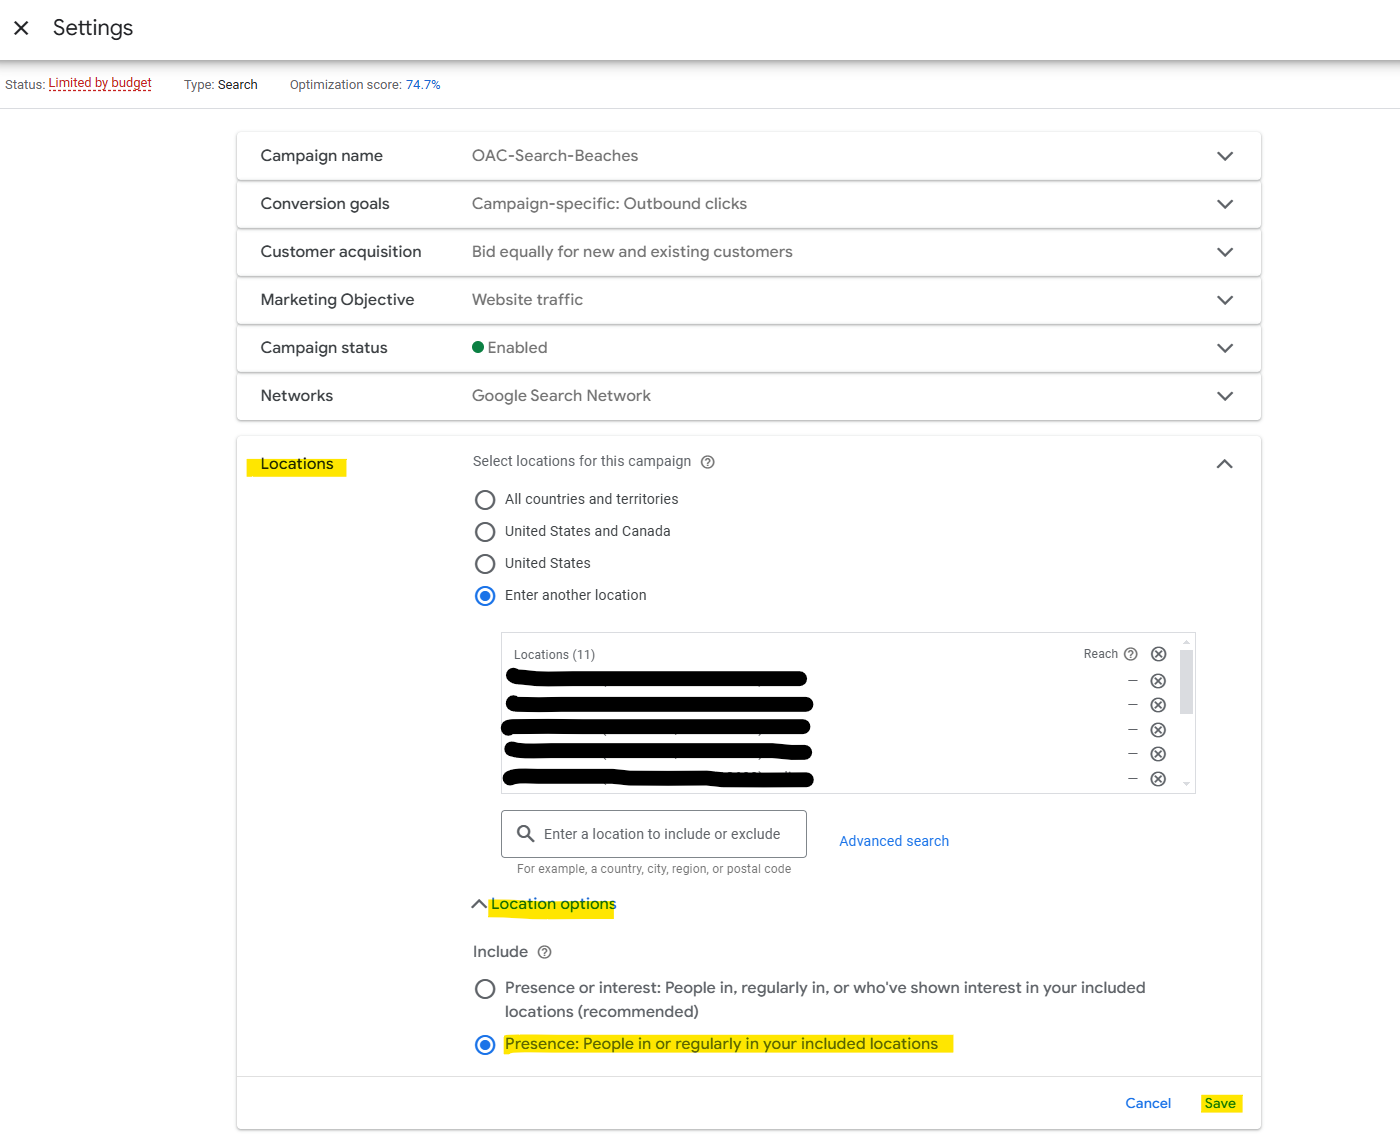
- Press Save.
- Repeat steps 2-6 for each active search campaign.
Turn off mobile app placements
If you run Display campaigns, you will find that your ads most often show on mobile apps instead of websites. This often leads to low-value clicks and low engagement time on site. To boost your engagement and focus your budget on placements that match what your business offers, try excluding mobile apps from your Display placements.
Below are instructions for turning off mobile app placements one-by-one, or all at once.
Turn off mobile app placements one at a time
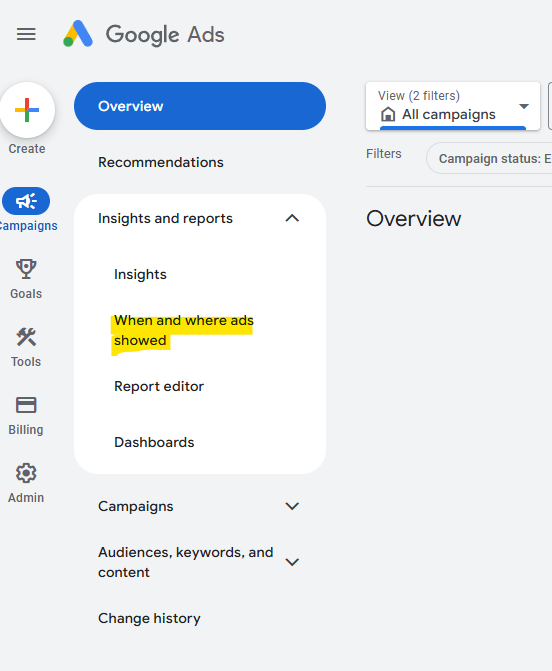
- Hover over the Campaigns button on the left, click on the Insights and Reports dropdown, then click “When and where ads showed.”
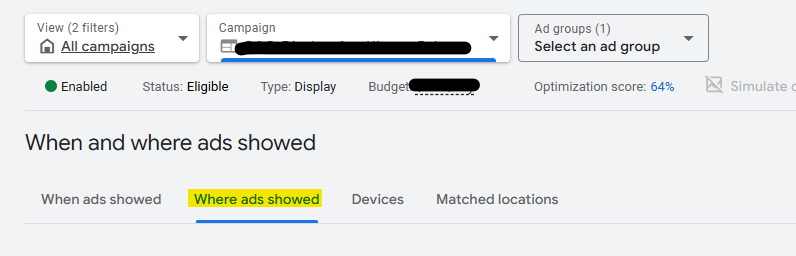
- Use the campaign selector in the center-top of the page to select one specific display campaign.
- In the middle of the page, select the “Where ads showed” tab.
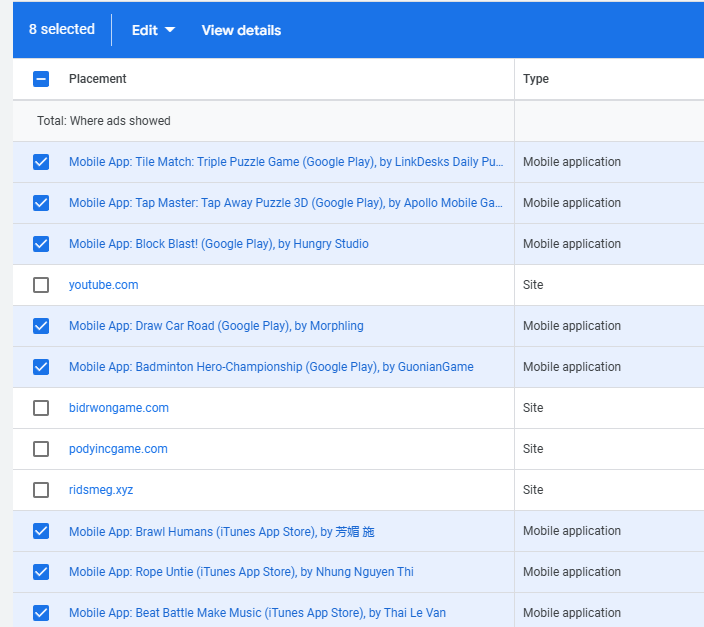
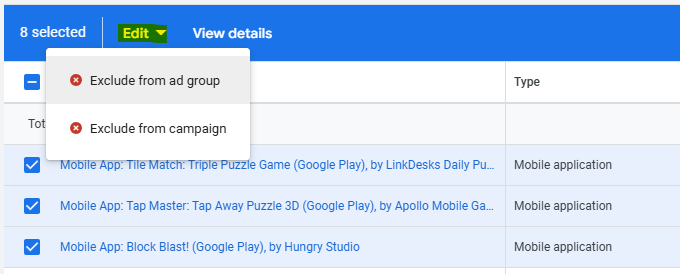
- The resulting table shows where your display ads were shown. Select each undesired placement by pressing the check box, then in the blue bar press Edit→Exclude from ad group (or Exclude from campaign).
Turn off mobile app placements all at once
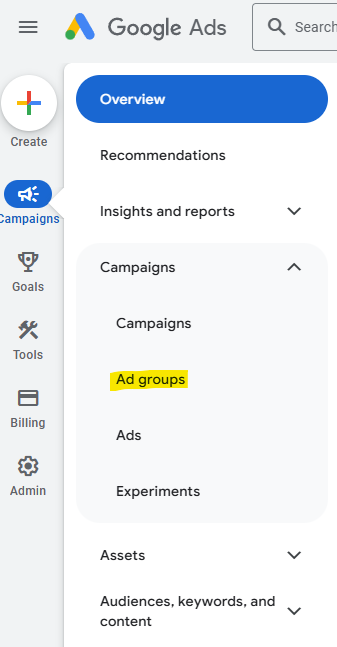
- Hover over the Campaigns button on the left, click on the Campaigns dropdown, then click “Ad groups.”
- Use the campaign selector in the center-top to change campaigns.
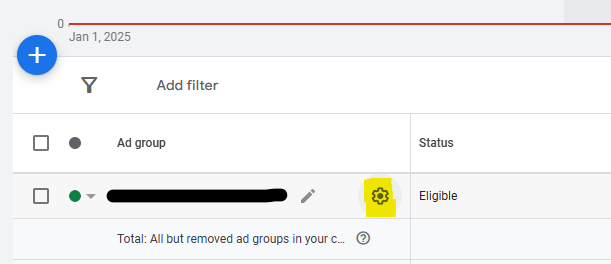
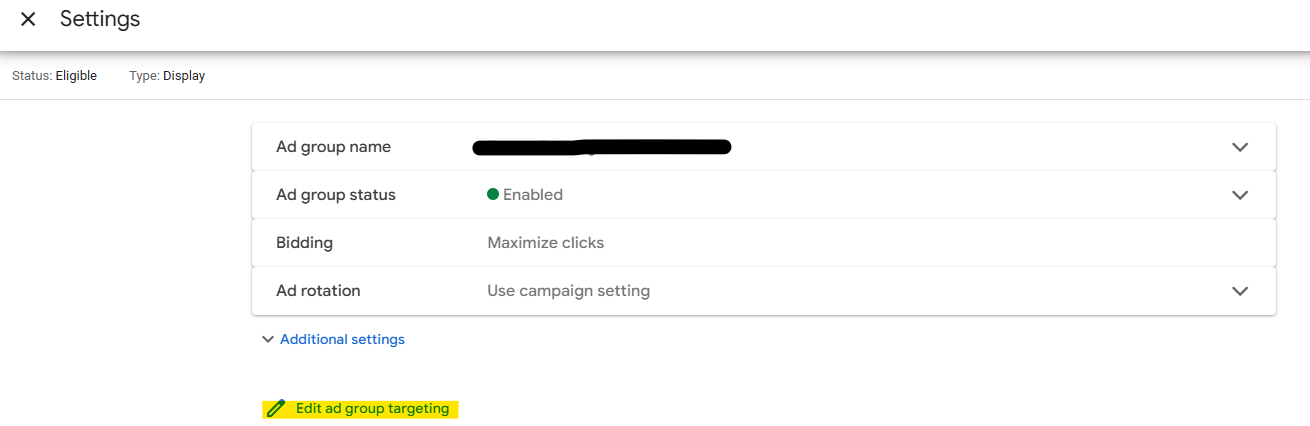
- Hover over the desired ad group and press the gear icon.
- In the Ad Group Settings window, press the pencil icon that says “Edit ad group targeting.”

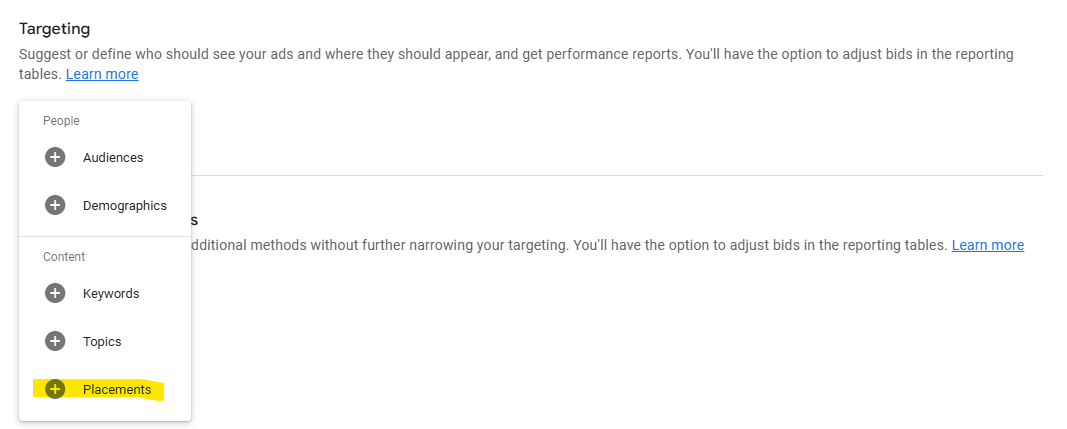
- If there is a row called Placements, press it to open. If there is not a Placements option, proceed to step 8.
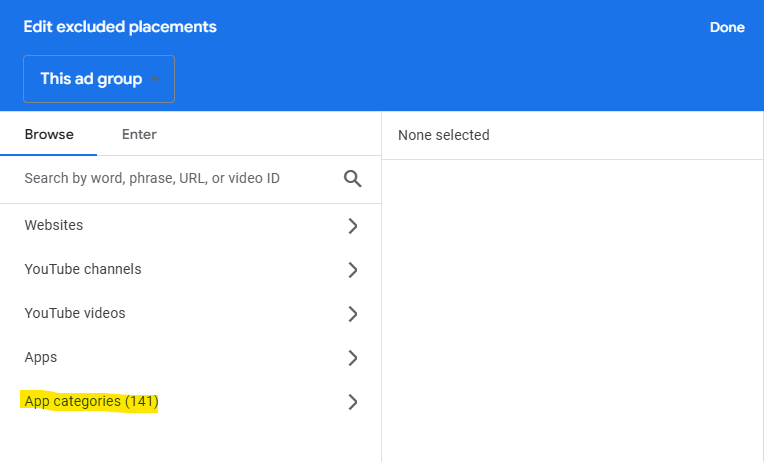
- In the Excluded Placements table, press the pencil icon.
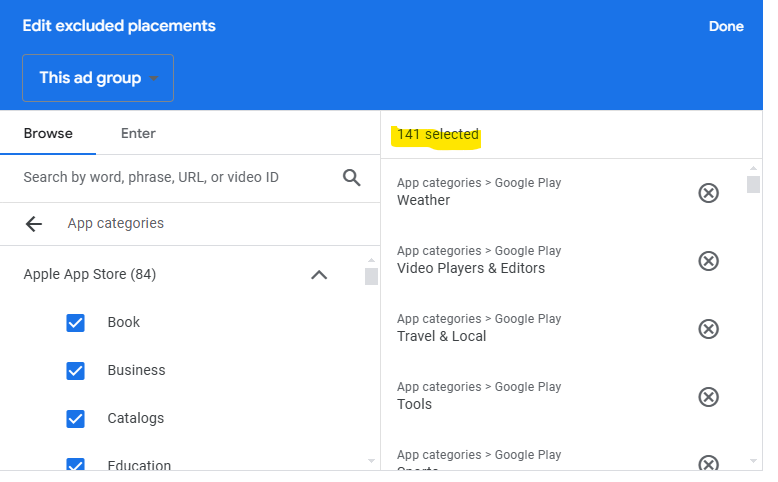
- Open the “App Categories” dropdown and select every box. There are 141 you will need to click. Make sure you open the sub-folders, too. Press Done.
- If there is not a row called Placements, press the Add Targeting Signals button, then press Placements. Proceed with steps 6 and 7.
- Scroll to the bottom and press Save.
Turn off ads during low-performing or expensive days and hours
Once you have a couple months’ worth of data in your campaigns, you can determine what days and/or hours are the most profitable for you. You can then tell Google to only show your ads during these times. Below are instructions for finding ad results by day of the week, and then setting an ad schedule appropriately.
- Hover over the Campaigns button on the left, click on the Insights and Reports dropdown, then click “When and where ads showed.”
- Use the campaign selector in the center-top of the page to select one specific campaign.
- Towards the right, there is a dropdown set to “Day & hour.” For simplicity, change this to “Day.”

- Evaluate whether this campaign should run 24/7. For example, if conversions are low on Saturdays and Sundays, it might be a good idea to turn off weekend ads.
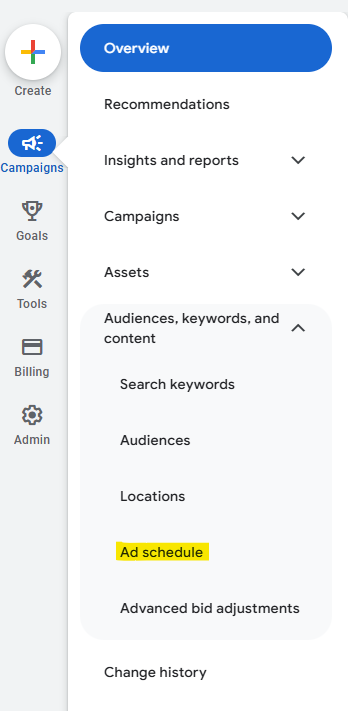
- With your campaign selected, hover over Campaigns on the left side and open the “Audiences, keywords, and content” dropdown. Select “Ad Schedule.”
- Press the pencil icon to edit the ad schedule. Remember that the timezone shown is whatever your account’s timezone is set to. If you are physically in a different timezone than the account’s settings, you will have to offset the ad schedule by the same number of hours.
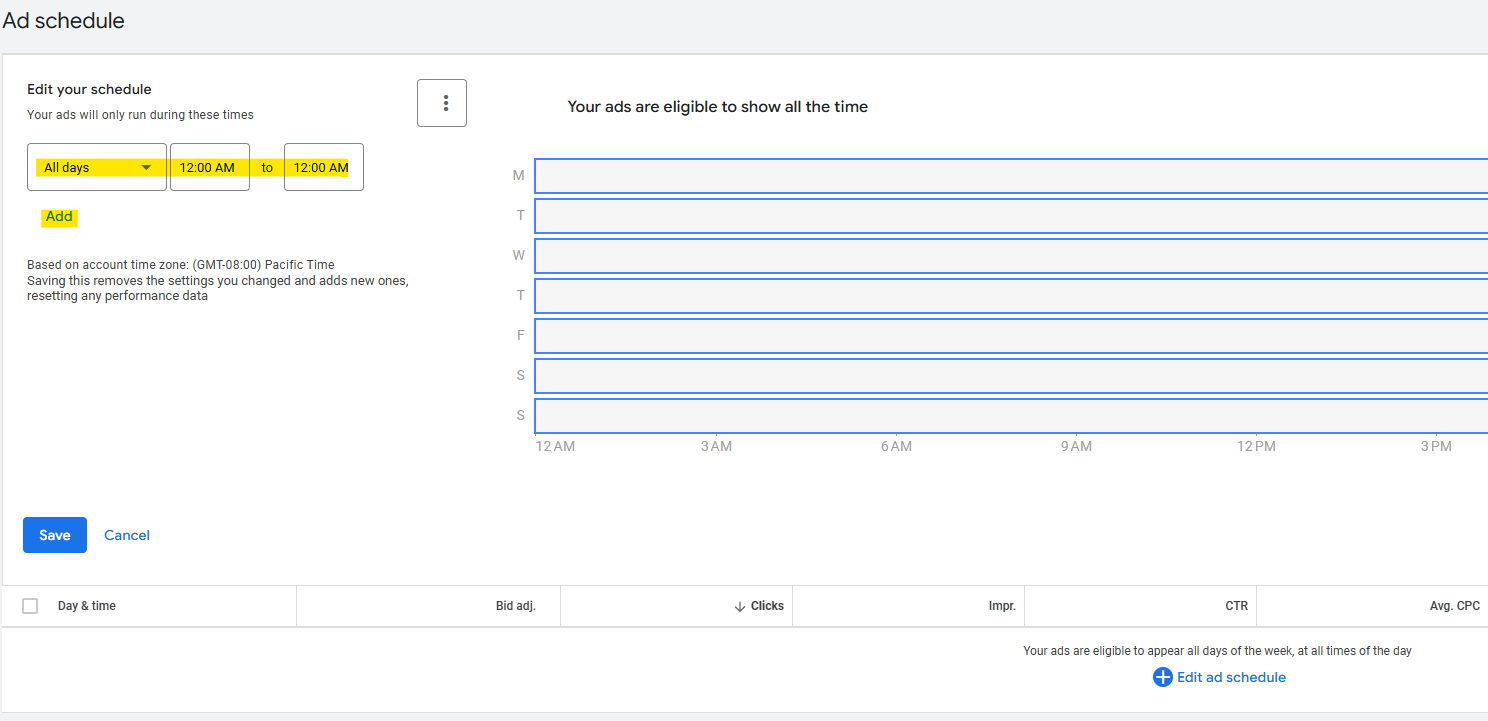
- Press Save.